Shopping Basket(the items purchased) and an area where you can enter the
Items Details.
A Miscellaneous Sale can be any item that you enter into the sales form. You can create miscellaneous sales for one off items that have not been configured in the POS system. For items that are entered into the POS system you should create a Departmental Sale.
When the page opens you will see a form containing a grid for the Shopping Basket
(the items purchased) and an area where you can enter the Items Details
.
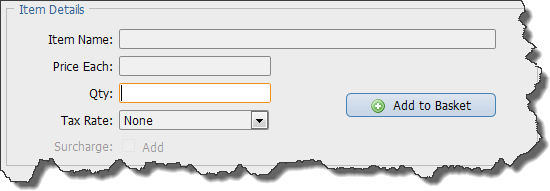
Item Name: A name or brief description of the item.
Price Each: The price for one item. Enter numbers only. Do not enter a currency symbol or any formatting except for the
decimal point. Example: 1002.50 or 1002,50 is correct, 1,002.50 or 1.002,50 or $1002 is wrong.
Qty: The number of items purchased.
Tax: Select a tax that applies to this item. The list will contain any taxes that have been set in the
General Configuration
Surcharge: If the percentage surcharge was set in the general configuration this option will be enabled. Check the box to apply the surcharge.

To remove an item from the shopping basket highlight it in the grid then press then Remove Selected
button. When you highlight the item it will be copied into the
boxes below the Shopping Basket
grid.

To the right of the Shopping Basket
and Items for Sale
grids you will see the total amount for all items placed in the shopping basket.
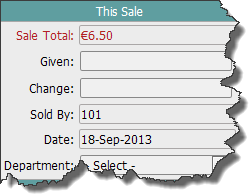
Sale Total: Total for all shopping basket items.
Given: The total amount given to you by the customer. Enter numbers only. Do not enter a currency symbol or any formatting except for the
decimal point. Example: 1002.50 or 1002,50 is correct, 1,002.50 or 1.002,50 or $1002 is wrong.
Change: The change that you must give the customer (ie. Given - Sale Total). It is calculated automatically.
Sold By: You user ID.
Date: The current date.
Department: Select a Department for this sale
Givenand
Changeare only enabled for cash sales.
Sold Byand
Datecannot be changed.
Below the This Sale
section you will see Payment Terms
which is the way the customer will pay for the items purchased.
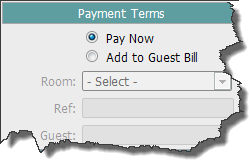
Pay Now: Payment for the items purchased will be made immediately.
Add to Guest Bill: The items purchased will be added to the guest folio.
Room: Select the guests' room number from the list of in-house rooms.
Ref: Booking reference for selected room.
Guest: The guest name.
Roomis only enabled for when
Add to Guest Billis selected.
Refand
Guestare entered automatically when you select a
Roomand cannot be changed.
Below the Payment Terms
section you will see Payment Method
which is the type of payment the customer will make. If you select Add to Guest Bill
in
Payment Terms
the Payment Method
section is disabled.
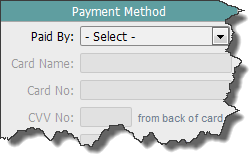
Paid By: Select a Payment Method from the list.
Card Name: The name on the customers credit card.
Card No: The credit card number.
CVV No: The three or 4 digit code from the back of the card.
Expires: Expiress date of the card, format is mm-yyyy.
Approval: Any approval code that you get from your bank when the transaction is prcessed.
Card Nameetc. are only enabled for when
Paid Byis a credit or debit card.
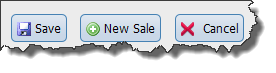
To complete this sale and save the details to the database press the Save
button. Pressing New Sale
will clear the shopping basket and other details from the
form.

After you save the sale a message will be shown below the sales form. You can print a receipt by clicking the link in this message. Receipts can also be printed from the
View Sales option in the POS
menu.